iPod 4th Gen Teardown
 The series continues... My roommate had a 4th Gen iPod that someone had given him which wouldn't turn on, so he gave it to me. My inner five-year-old was screaming for me to see its insides, so I cracked it open. Here are the results:
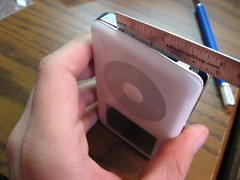
I cracked the case open using a combination of an xacto knife and a little metal scale. You've got to be careful that you don't scratch or cut the plastic case while doing this, so I'd recommend using something made out of nylon or other plastic to do this. All I had was the Xacto and scale though, and I managed to get it open without butchering the plastic too badly:
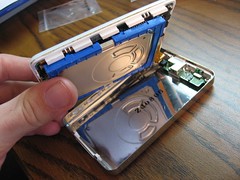
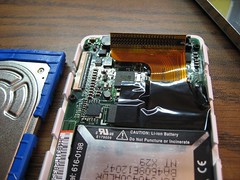
After carefully working around the outside of the case, the two halves just pop apart, revealing the hard drive and connector circuit board:
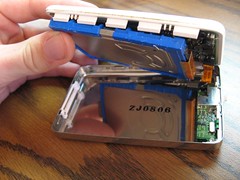
Here's another view of the input circuit board, the hard drive, and the ribbon connector that connects to the main circuit board:
Gently pulling on the ribbon connector frees it from the main circuit board, and the two halves can be separated:
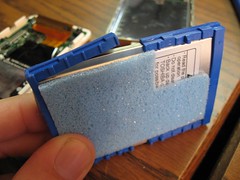
Once the iPod is in half, it's easy to remove the hard drive. It's not screwd in or anything, just held in by the pressure of the two case halves. Pull the cable out of the end of it, and you end up with:
If you were to replace the hard-drive, you'd have to pull the rubber bumper off of the perimeter of it, and the foam backing off the back side.
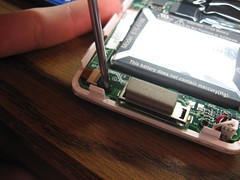
From here, it's possible to remove the main PCB by unscrewing the Torx T6 screws that hold it in place, and removing the battery connector in the lower right. There's also a little flex cable that runs to the buttons on the front that you will have to disconnect:
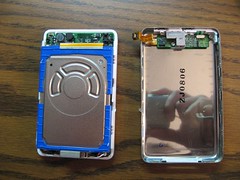
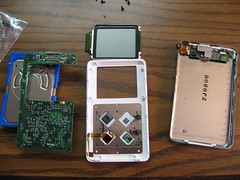
Here are all the guts laid out together:
And as proof that I'm at least *somewhat* better than a five-year-old, here's a video of the reassembly:
[youtube=http://www.youtube.com/watch?v=wt6hl7SWtFE]

Leave a comment