Canon Powershot SX100IS Teardown
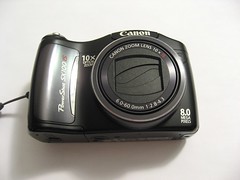
I keep running across more and more stuff that is just begging to be torn apart. It's like I'm 5 years old all over again, except this time I have screwdrivers instead of just rocks and sticks. Anyway, this time around, I tore down my roommate's Canon Powershot SX100IS camera. It's been having some issues with a stuck shutter, so we tried to pull it apart and fix it. Following are the results of that attempt:
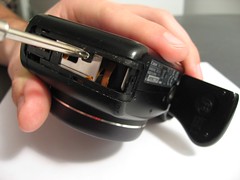
First off, there were about 10 or so screws to remove from the outside of the case. Some were hidden in the battery compartment, others underneath a little removable trim panel, others in the little port flap on the side. They're tricky to find, so don't start prying at the case until you're sure you've pulled all the screws.
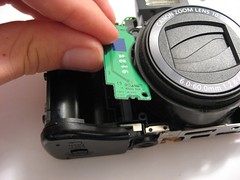
The SX100IS has a cool little memory backup battery that just slides into the side of the camera that can be seen above the pile of screws in the pic above.
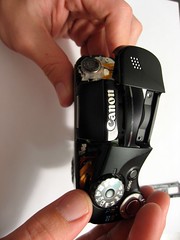
The camera has a little side trim piece that's hiding another couple of screws that hold the front and back of the camera on. Once those screws are removed, it's possible to pop the entire front of the camera off. First, though, you have to pop off the top of the camera, which should be loose at this point if you pulled all the other screws from the outside.
After pulling the top off, you can remove the front plastic piece:
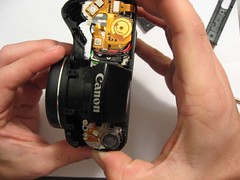
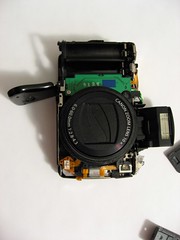
Here's what the inside of the front of the camera looks like:
You can see the flash board off to the side of the lens, and the lens motor on the other side. After the front is off, the back can be pulled in a similar manner, but watch out for the flex cable connecting the buttons on the back to the PCB.
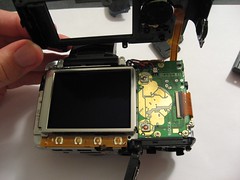
In our quest to remove the lens assembly, I decided it was a good idea to pull the LCD and the pcb off of the back of the camera. The LCD has two connectors, one for the backlight, and one for the LCD data... make sure to disconnect both before pulling the LCD.
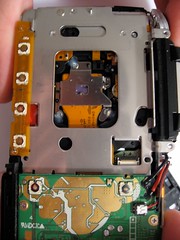
After removing the LCD and the PCB, it is possible to see the back of the CCD assembly:
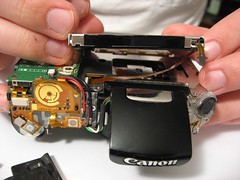
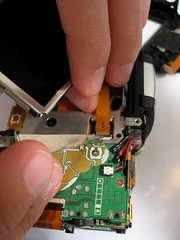
Next I yoinked off the flash driver board on the front of the camera to see if there was any way to get at the lens mechanism that way.
At this point, we came to the conclusion that we weren't getting anywhere trying to get at the shutter, so we decided it was time to put the camera back together. This was pretty straightforward, with the exception of plugging some of the flex cables back in. The trick here is that the sockets they plug into have little black parts at the front that flip down to clip the cable in place. One of these can be seen on the LCD cable below:
Anyway, those are all the pictures I took. We managed to get the camera put back together with only two extra screws! It still powers up and everything works on it, but the shutter is still broken so the whole exercise was kind of pointless, except for the educational and entertainment value.


Leave a comment