Cubeecraft Obama figure build
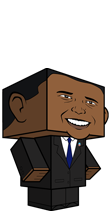
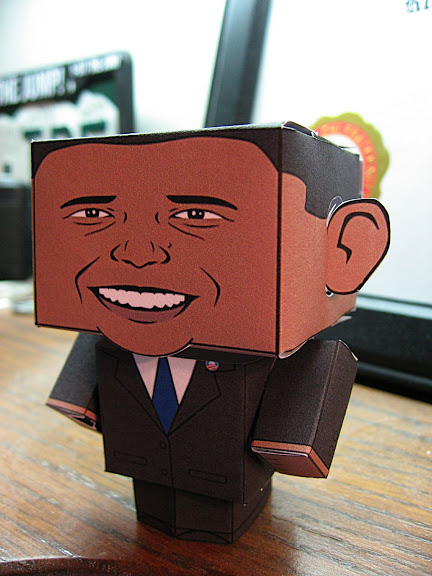
If there was any doubt up to this point that I have way too much time on my hands, this post should put that doubt to rest. Cruising the web the other day, I ran across a link to Cubeecraft's new Obama figurine. For those of you not familiar with Cubeecraft, they make print-able fold-up templates for paper figurines with little square heads - pretty cool stuff. They have a bunch of characters, with one of their latest being the Obama one. Following are some pics of my experience "building" one:
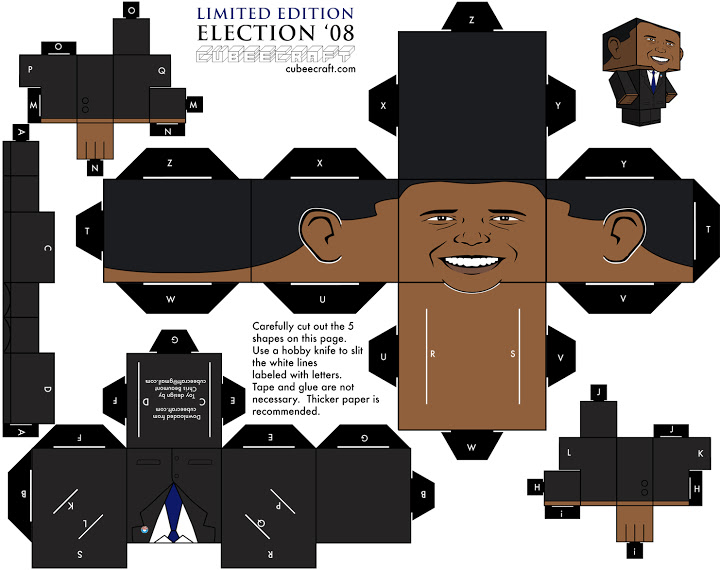
The template for the Obama Cubecraft is available on Cubecraft's site. It's a limited edition, so grab it while you can.
I printed the template out on some heavy cotton resume paper that I happened to have sitting by my printer. Turns out I somehow managed to mess up the printer settings and ended up lopping off the lowest 1/4" or so of the image. More about this later.
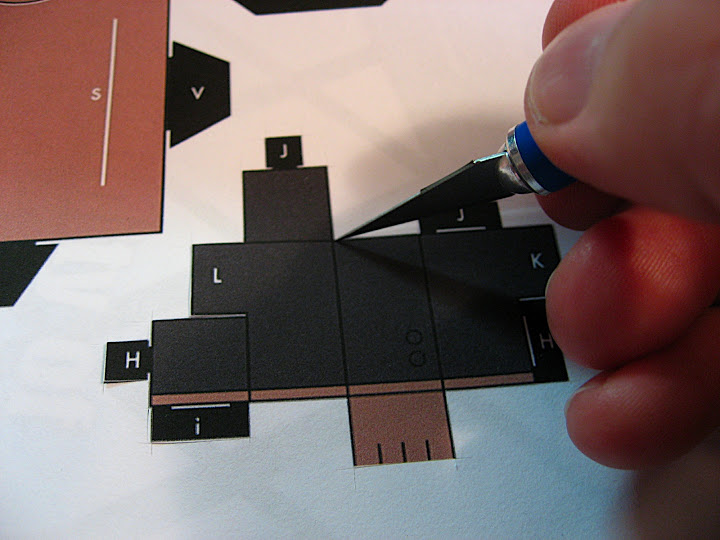
To cut out the parts, I grabbed my trusty Xacto knife. It's very important to use a brand new blade, as an even slightly dull one will tear rather than slice the paper. I started off with an older blade, and managed to make a few nasty cuts. I grabbed a brand new blade, and the cuts got much cleaner and easier to make. Interestingly, I observed that the blade got noticably duller by the time I was done cutting. Who knew paper could dull a steel blade so quickly?
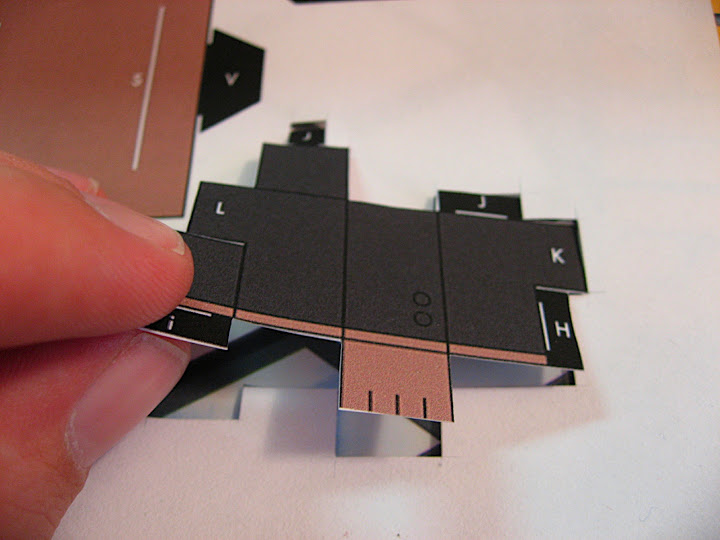
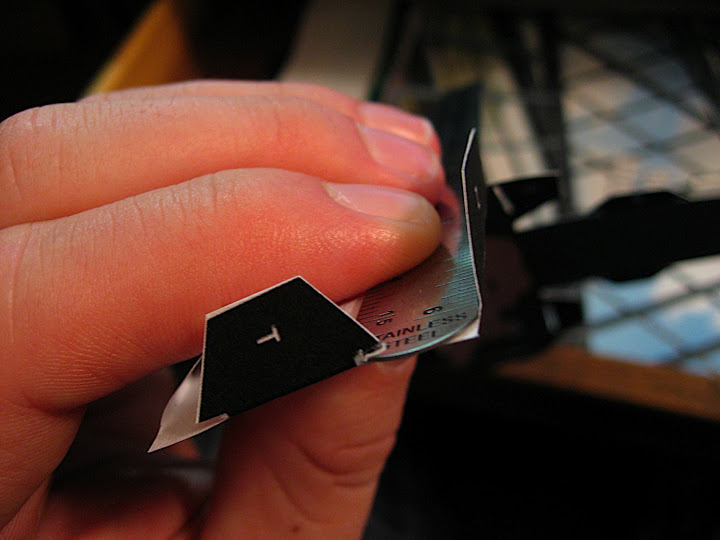
After carefully cutting out all five of the shapes (two arms, a torso, a head, and pants), it was time to fold them. Depending on how thick your paper is, you may have to lightly scribe the back-side of the fold lines with the Xacto knife to get good clean folds. My paper was thin enough that I just grabbed a small stainless steel scale I had on my desk and used its edge to get straight, clean edges on my folds.
After creasing all of the folds, we begin the actual assembly process. This is a straightforward tongue and slit assembly, and requires no tape or glue if you do it right. All of the tongues and slits are lettered, so assembly is pretty obvious. One trick that will make your finished figure more durable is to bend the "ears" on each tongue slightly so that they are less likely to slide out of the slit once assembled.
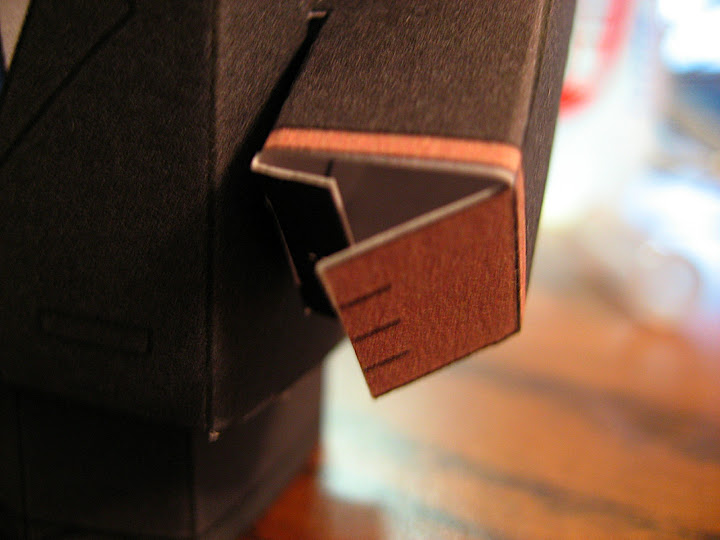
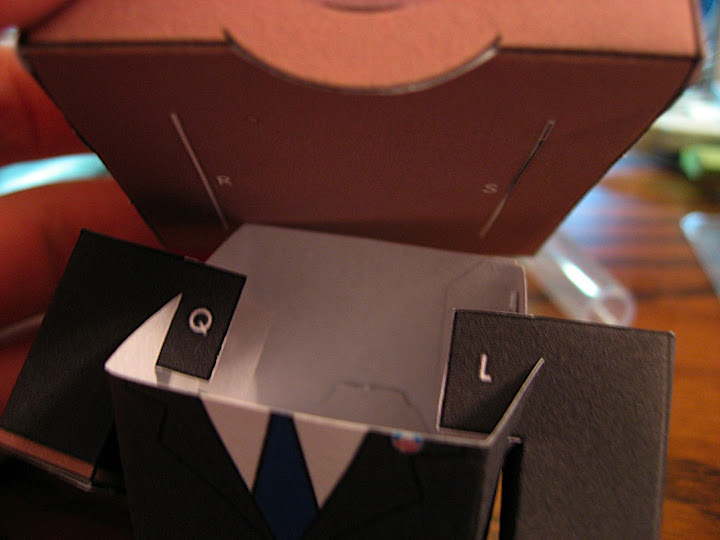
I mentioned above that I had some trouble with my page settings when I printed, so I lost abou 1/4" of the template. The result of this was that I lost tabs "R", "S" and "i". The first two tabs connect the torso to the head, and the last one holds Obama's hand closed. I didn't discover the problem until I had already cut everything out, so I was reluctant to re-print the template and do more cutting. I grabbed out my handy-dandy scotch tape and just taped the hand closed and taped the head to the torso:
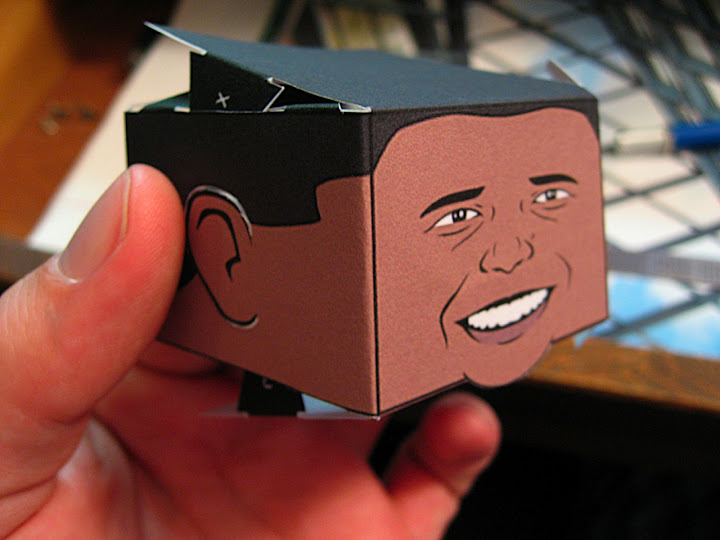
I also had to extend the slits where the arms mount by about 1/8" in order to keep them from interfering with the head/torso joint. This would not be a problem if I hadn't printed the template incorrectly. Anyway, after some judicious application of the knife and some tape, I got the finished figurine:

Leave a comment