“Death of a Battery: the Saga” or “I’m an Engineer with Too Much Time on My Hands”
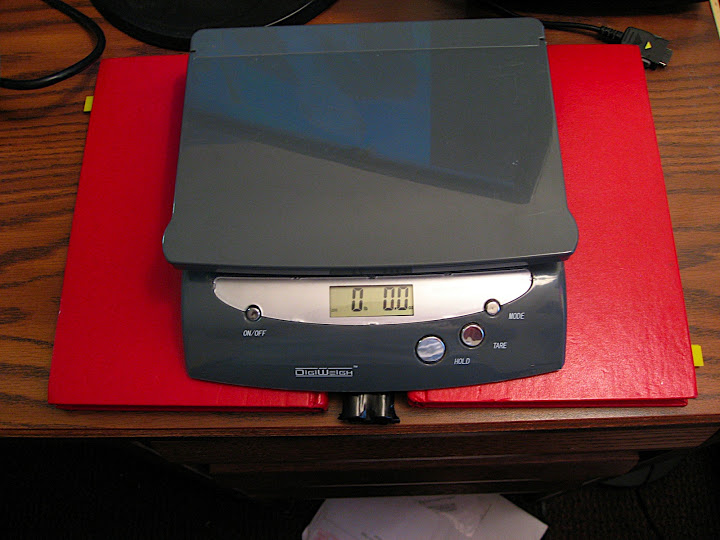
I've been going on an Ebay selling binge for the last week or so, which has meant some heavy use of my little DigiWeigh postal scale. All this weighing resulted in the battery that I got with the scale two-odd years ago finally eating it.
Now at this point, I faced what would be for most people a pretty simple decision... do I run to Kroger and buy a new 9V battery, or attempt to Macguyver one out of random stuff I had sitting around my desk?
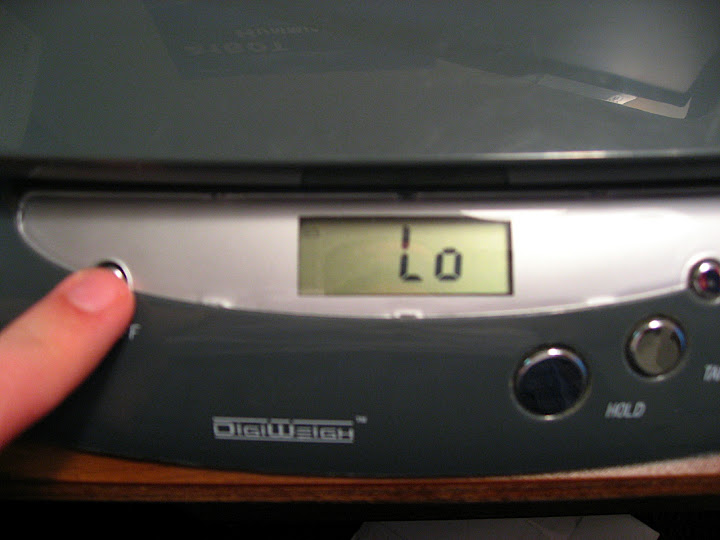
Being an engineer, I went for the obvious solution of hacking one together. Fortunately, I had the following kicking around in my desk drawer:
- Six (6) AA Energizer batteries
- One (1) 9V battery connector
- One (1) paperclip, medium-sized
- Asston (lots) of electrical tape
Here's a quick rundown of the build:
- Tape the batteries end-to-end into two stacks of three cells apiece.
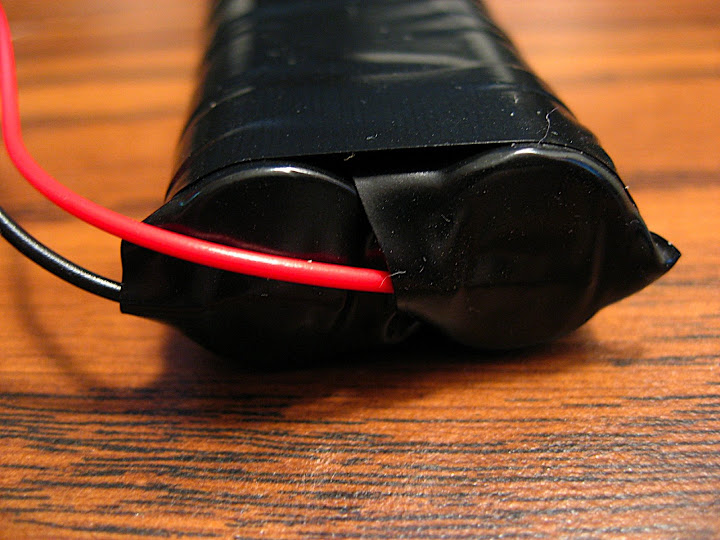
- Tape the two stacks side-by-side, with the positive sides of each stack facing opposite directions.
- Tape the paperclip across one end of the resulting stack, bridging the positive end of one cell to the negative end of the other cell.
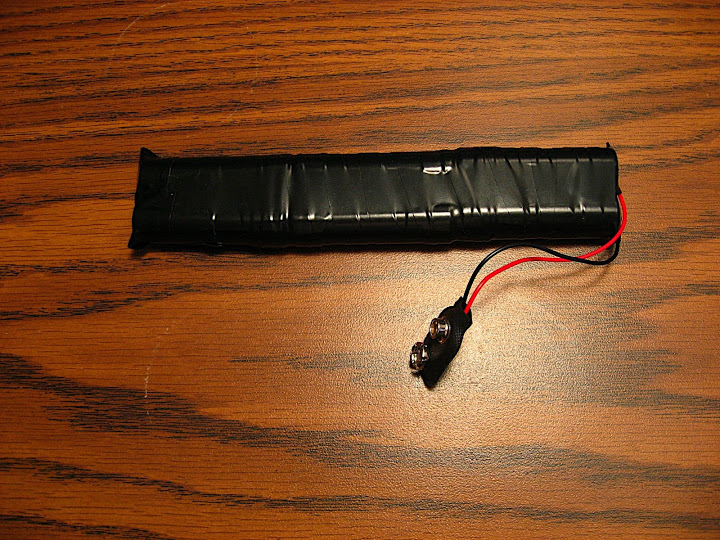
- Tape the battery connector leads to the other end of the stack. The red (positive) lead should be taped to the negative (flat) end of the stack, while the black (negative)
lead should be taped to the positive (dimpled) end. NOTE: This part is critical... if you get these backwards, you risk letting the magic smoke out of whatever you plan to power with your new 9V battery. The reason these are backwards from the way you would intuitively hook it up (positive to positive, negative to negative) is that the battery clip is designed to be on the device side, not on the battery side. This means that the male and female clips are reversed, making it necessary to reverse the polarity of the wires going to the battery stack.
- Wrap the completed stack with whatever is left of the Asston of electrical tape. Make sure to stretch the tape a bit as you wrap, adding some compression to the stack to hold the batteries together more firmly.
- Test the completed stack with a multi-meter to verify that the polarity matches the original battery, and that you are getting 9V out of the new battery.
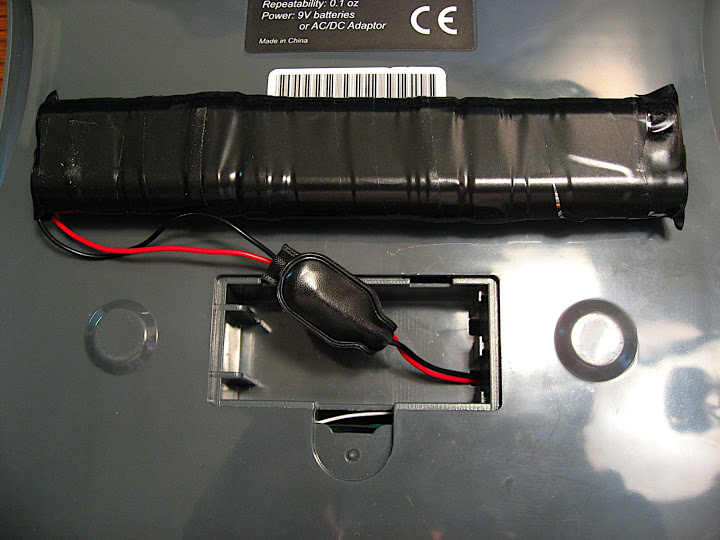
- Plug it in, and enjoy!
One extra benefit of the DIY approach here is that you end up with a battery with much more capacity than the traditional 9V. Wikipedia tells me that a normal 9V battery has 625 milliamp-hours (mAh) of capacity. Each 1.5V AA cell has 2890 mAh. This means that the final stack has 2890 mAh or approximately 4.5 times the capacity of the normal 9V. Given that the battery that came with the scale lasted about a year and a half, this battery should last almost seven years... or until I get tired of needing to have the scale propped up on books to make room for the larger battery.


Leave a comment