Teflon Wallet
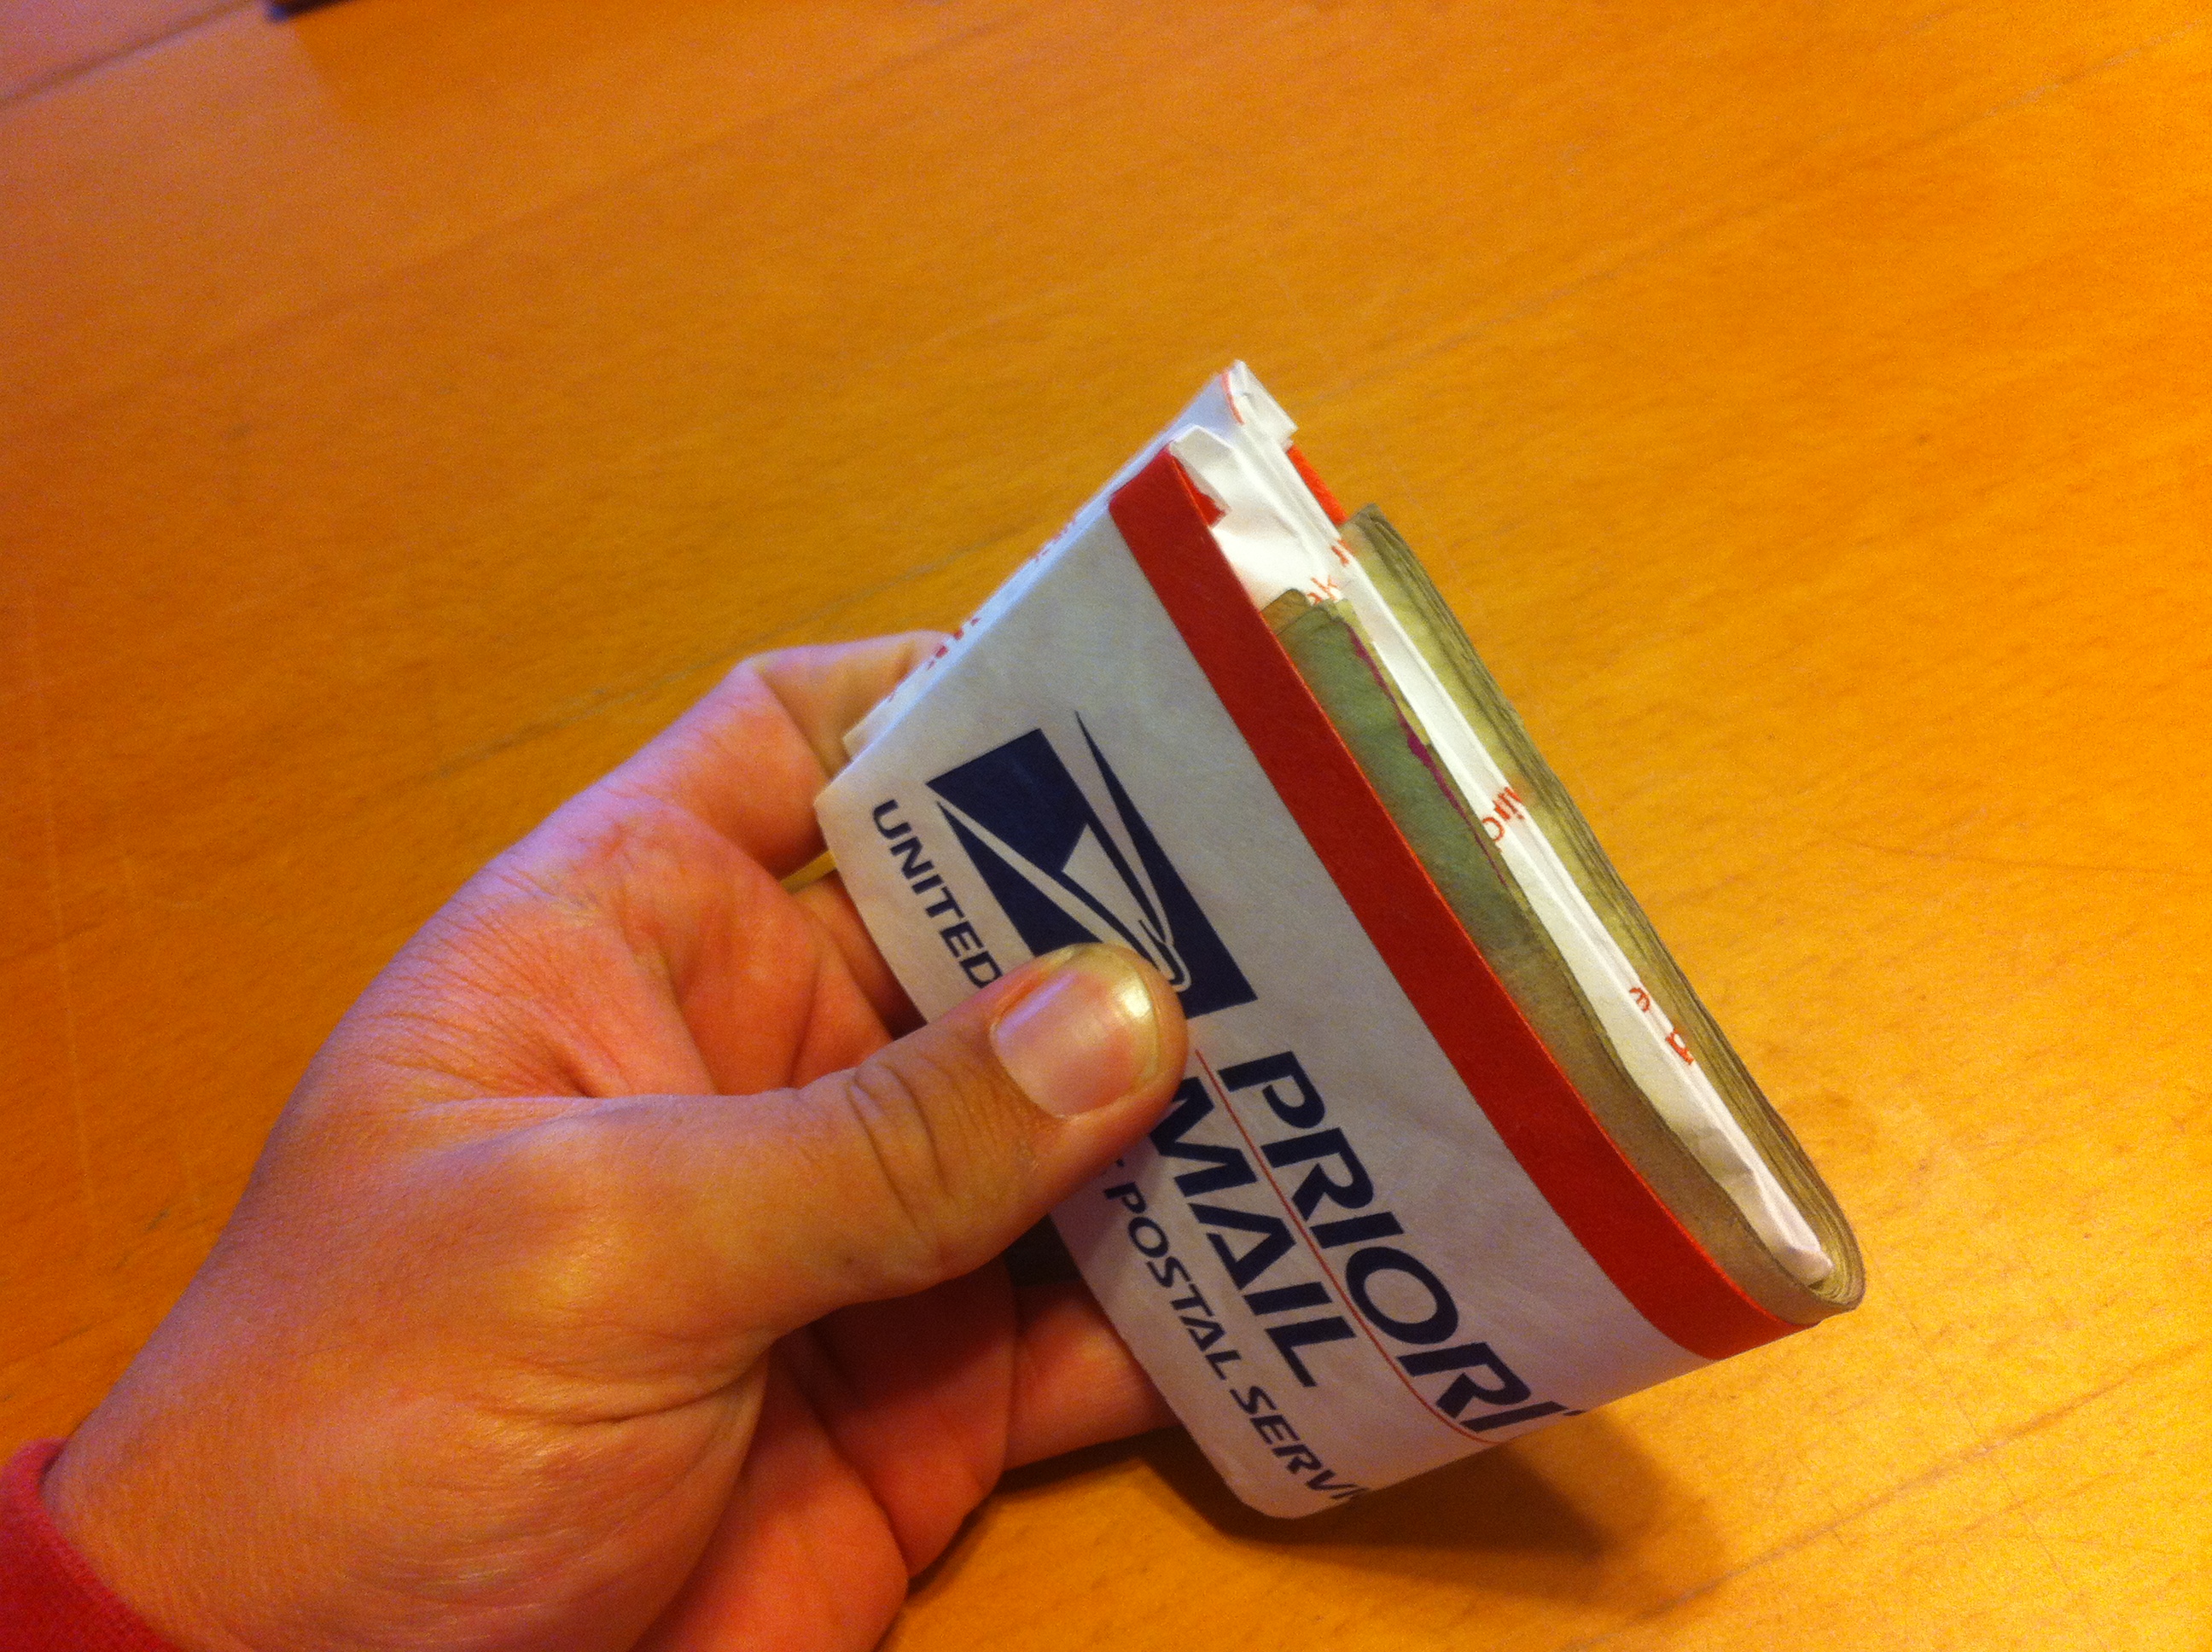
I'm going through another minimalist phase, and one of the things that's been bugging me a lot lately is how swollen my wallet has become with all the gift cards, froyo punch cards, random trash, etc. I emptied out my wallet, only to find it didn't really get that much thinner or smaller, because of how massive just the wallet leather is. I started looking around online for a thinner alternative more compatible with my newfound minimalism, and ran across this Instructable for making a paper wallet. I was really taken with how compact and simple the paper wallet manages to be, while still being functional and a viable way of carrying cash, credit cards, and identifaction around.
I made myself one of the paper wallets as shown in the Instructable, but realized after a few days of use that it would not last long in an abrasive jeans pocket, and would be absolutely wrecked at the first sign of moisture. I took a brief survey of the paper items around my room which could be more suitable materials for a wallet, and found that I had some USPS Priority Mail envelopes, which are made of a pretty heavy-duty teflon. Here's a quick overview of how I put the wallet together using the envelope:
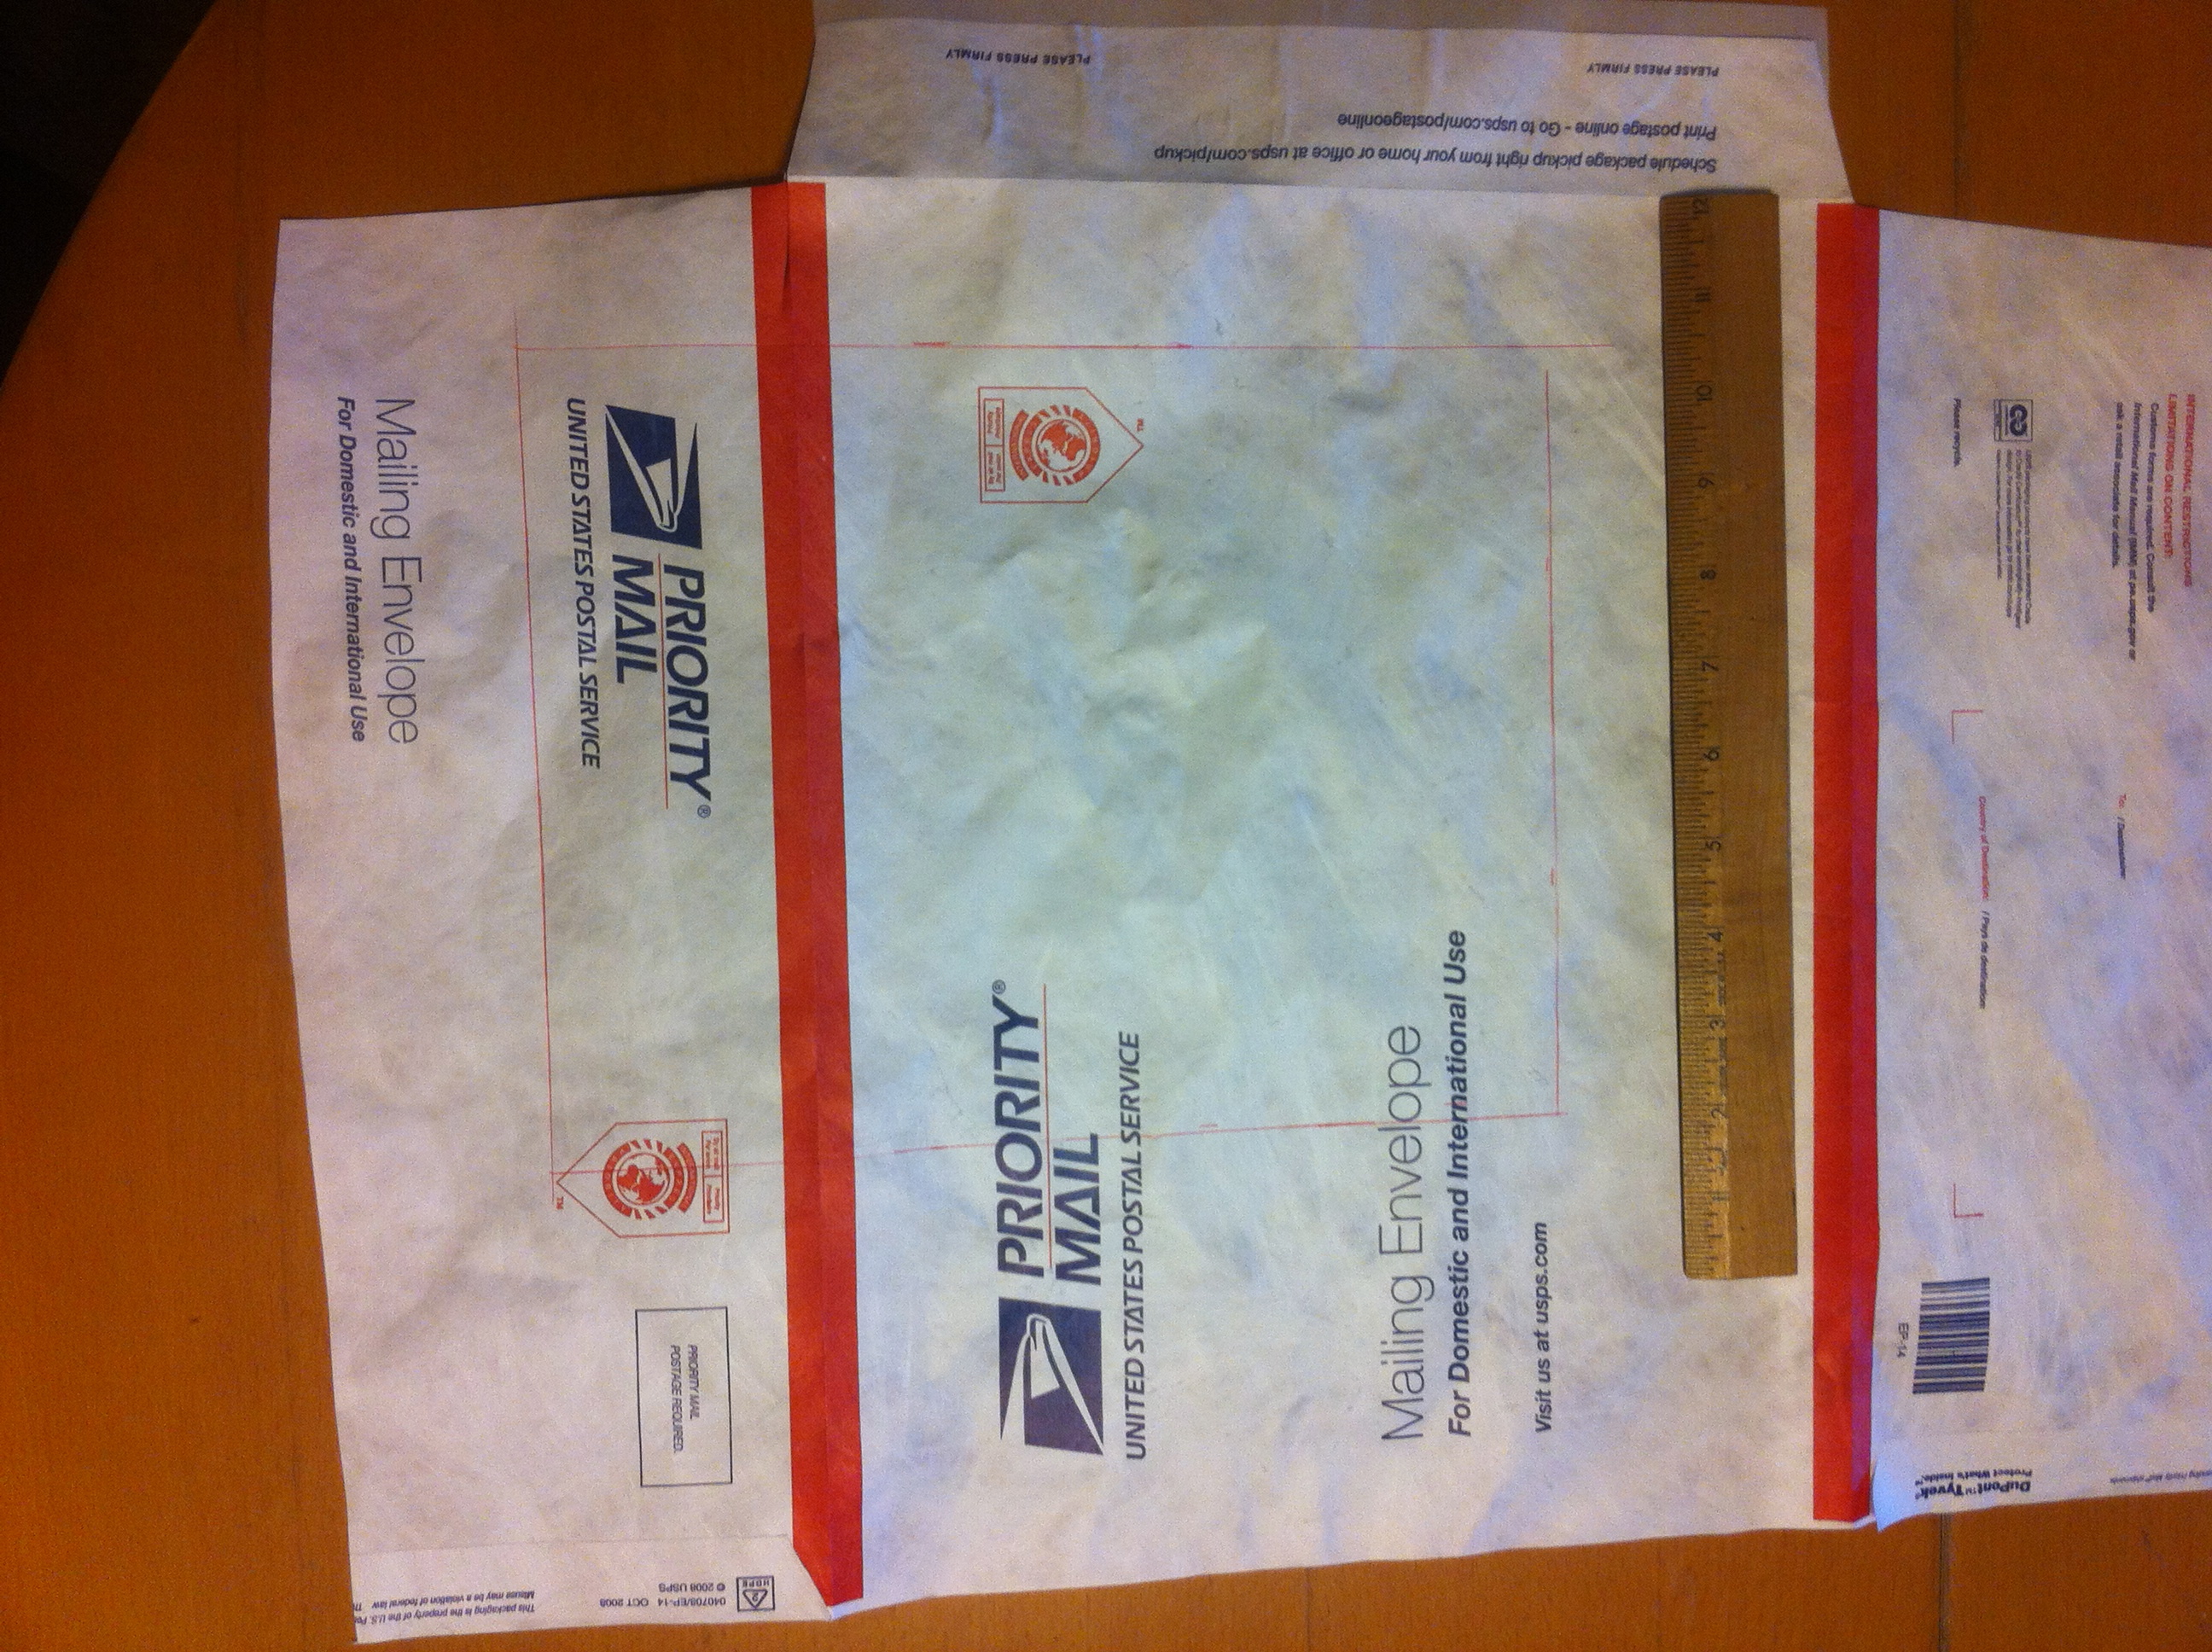
First off, I sliced open the envelope, and measured out an 8.5 x ll" section, being careful to feature some of the USPS labeling on the section that would become the exterior of the wallet:
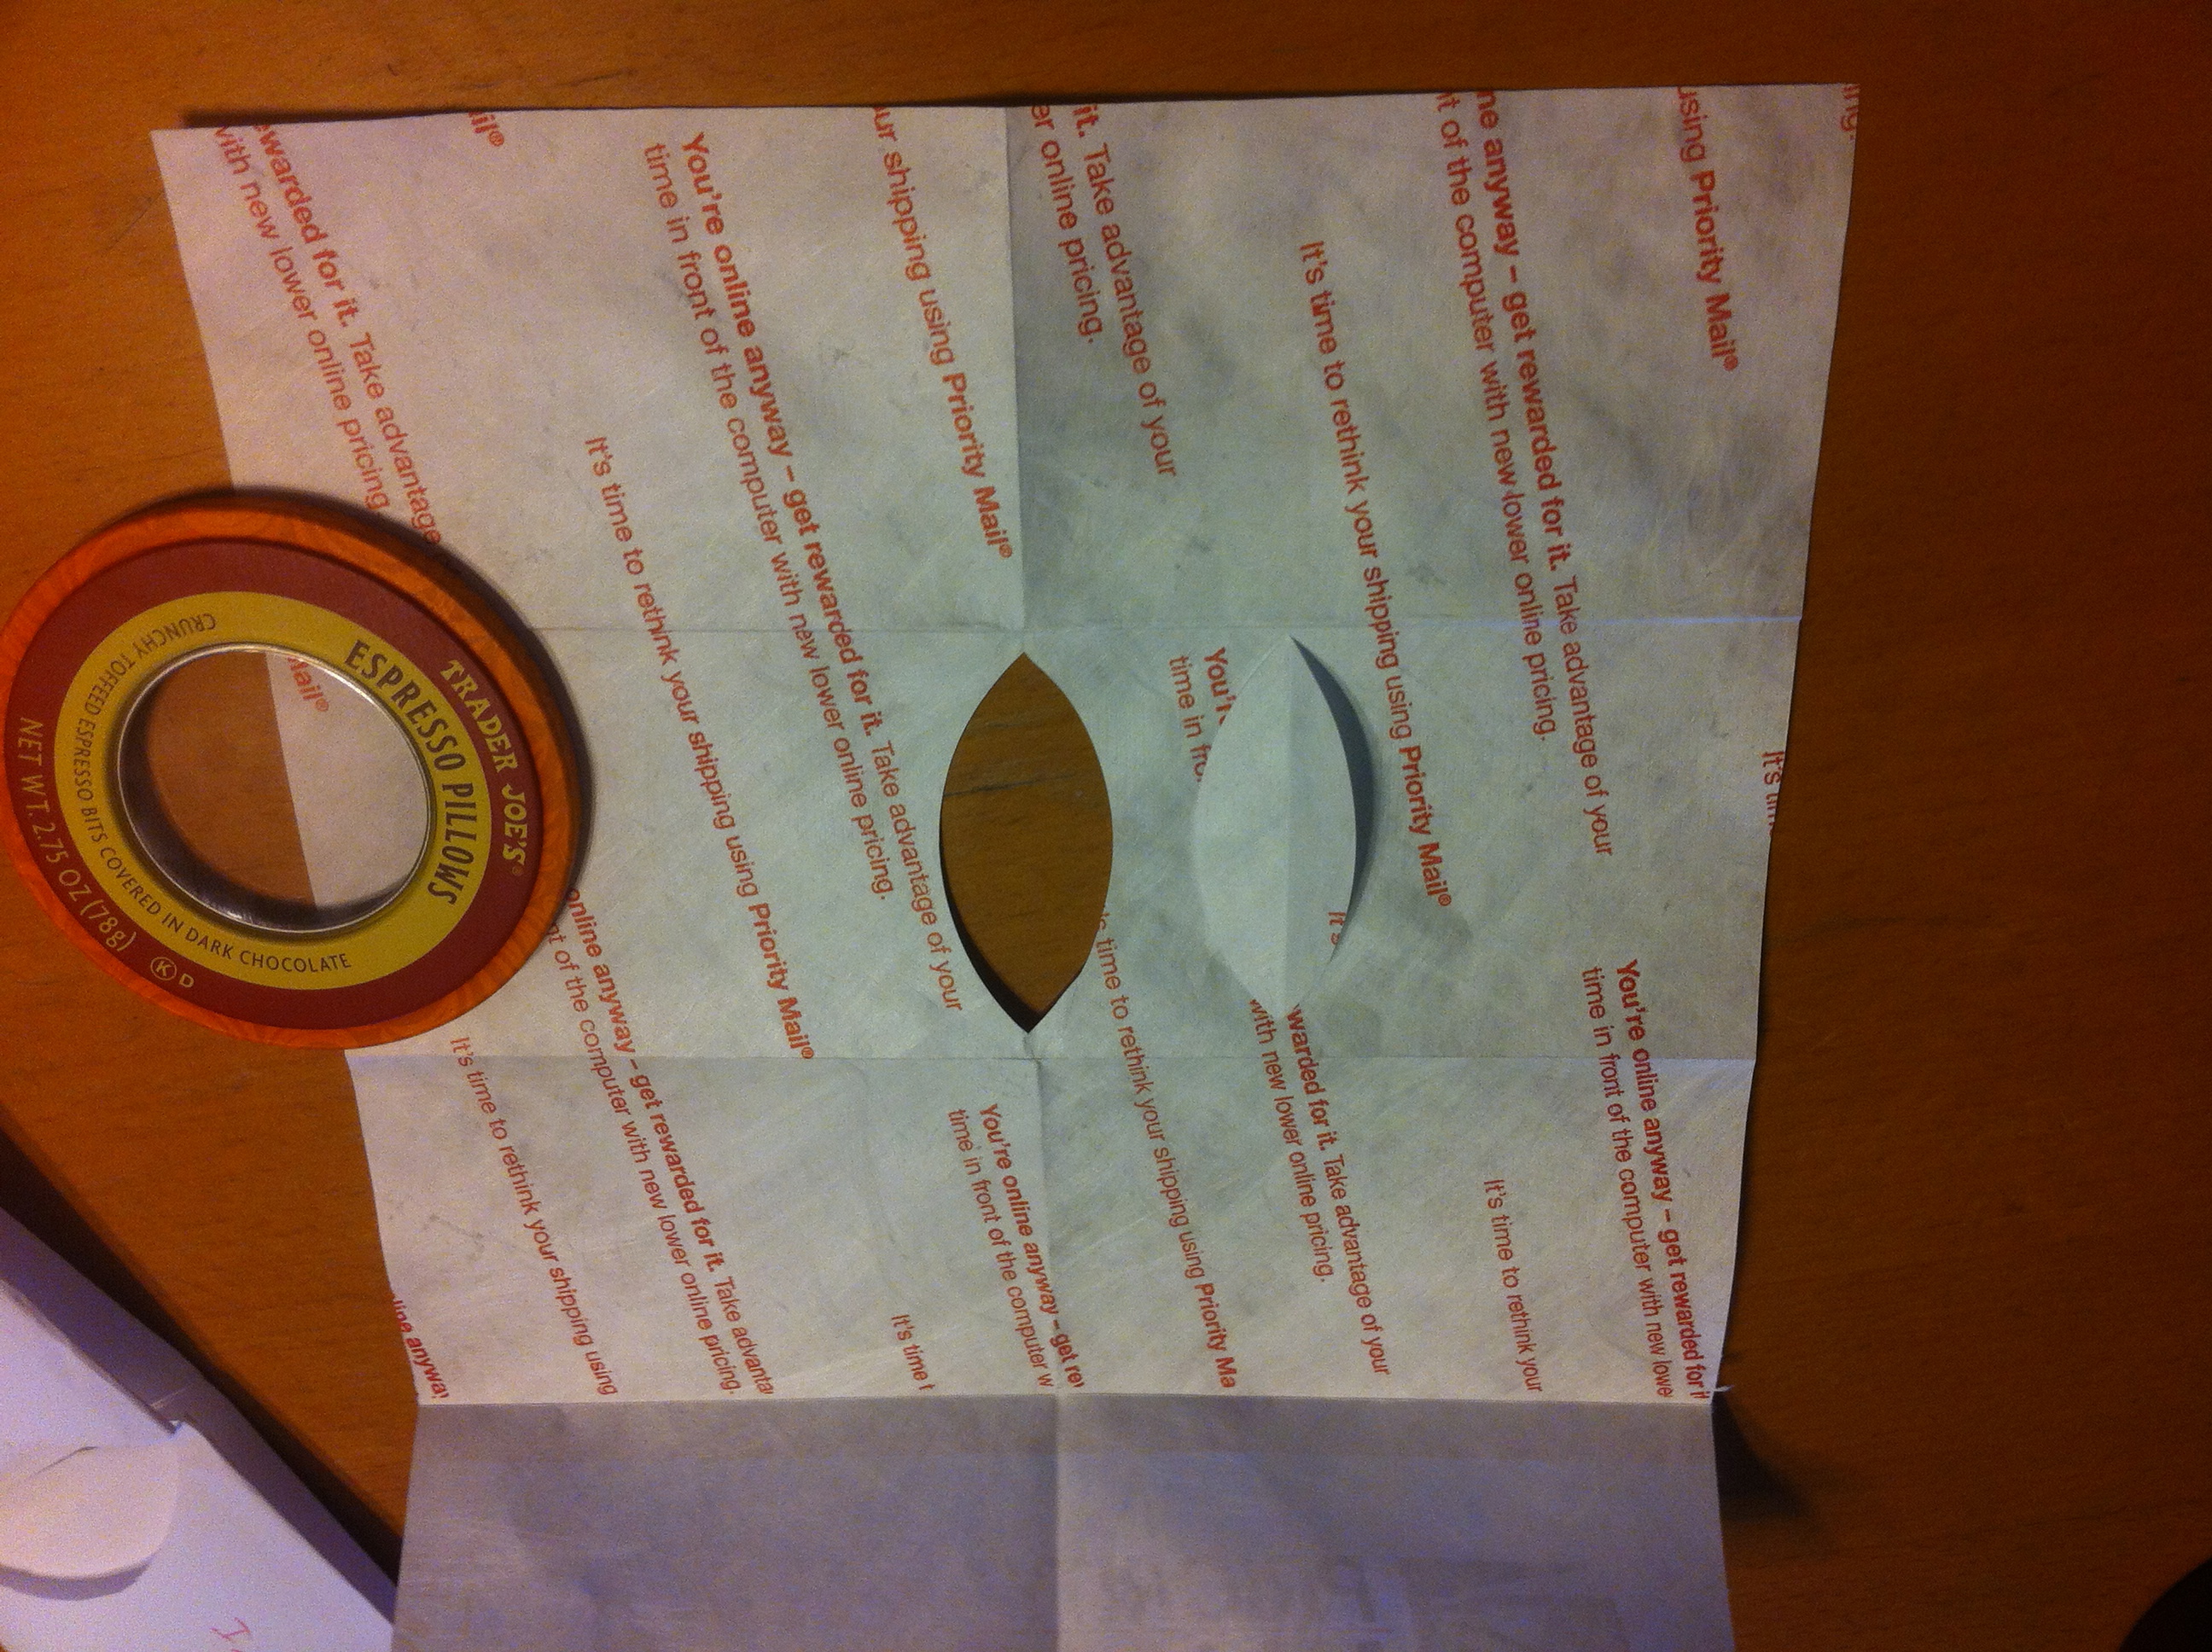
The next step was to cut out the marked off section, and put the initial folds in it, as directed in the paper wallet Instructable. I then sliced out the card openings on the section that would be the inside of the wallet, using a tin can lid as the template:
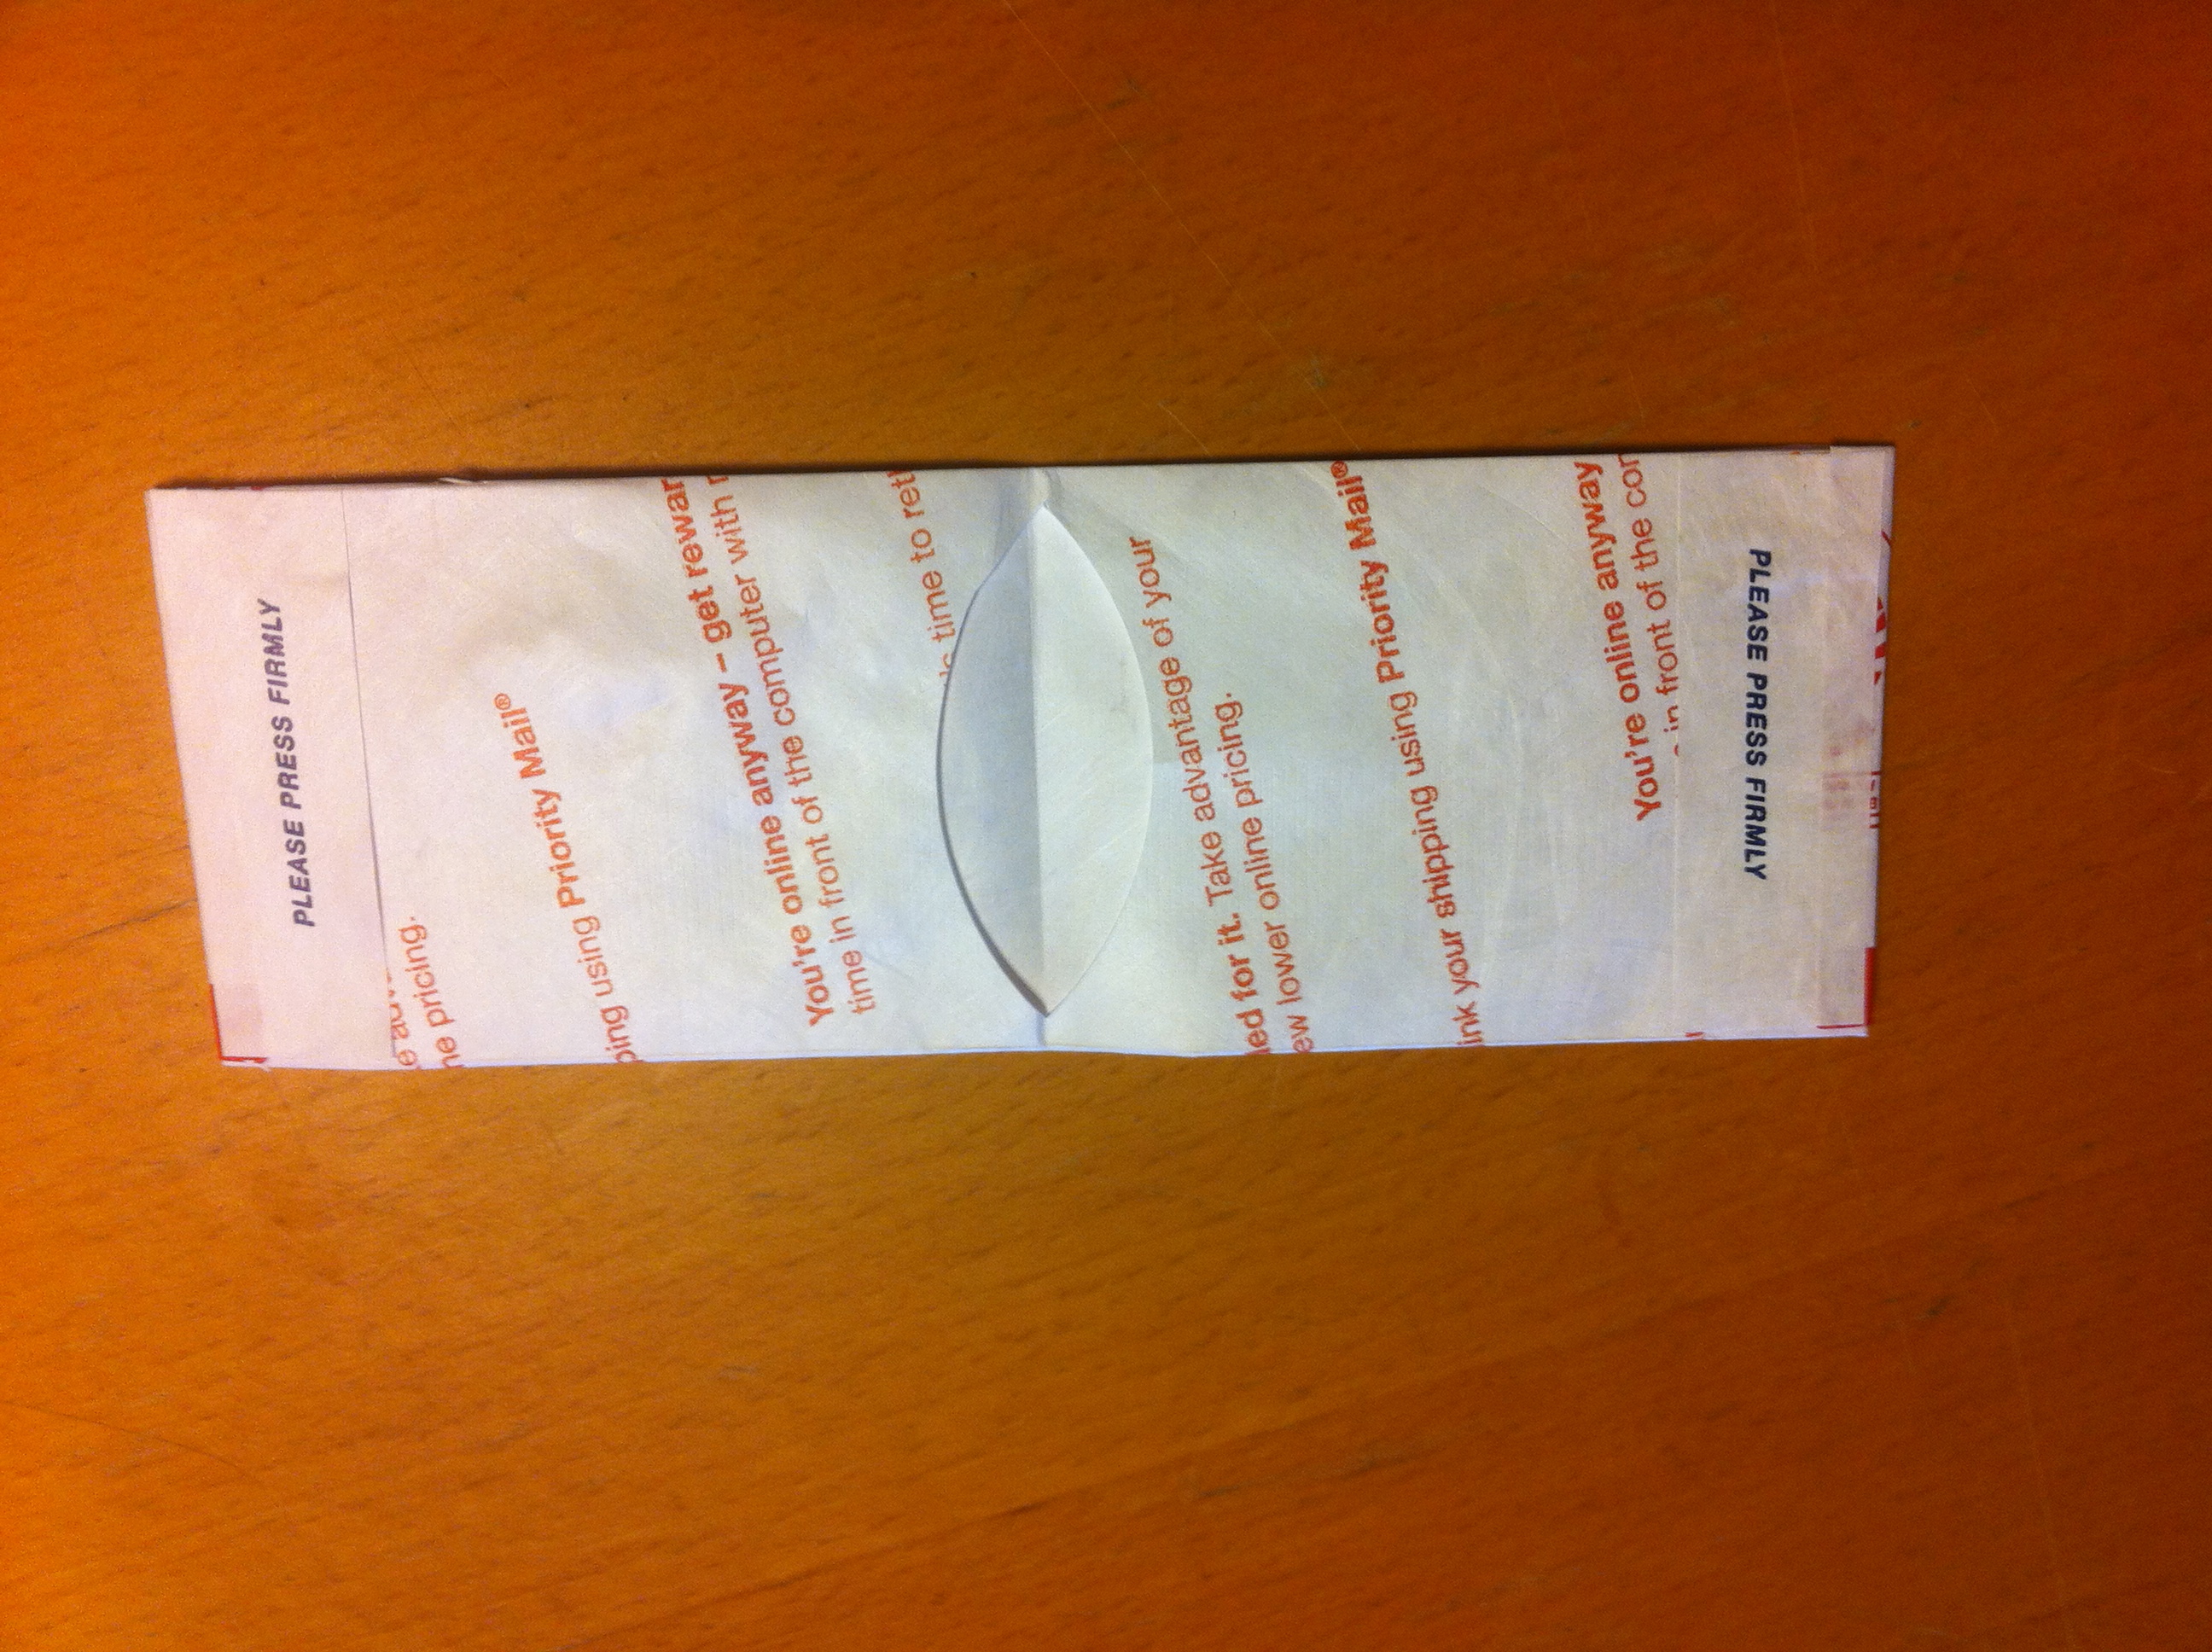
Next, it was a simple matter to perform the final Zipper-cuts as directed in the Instructable, and fold the wallet into its final form:
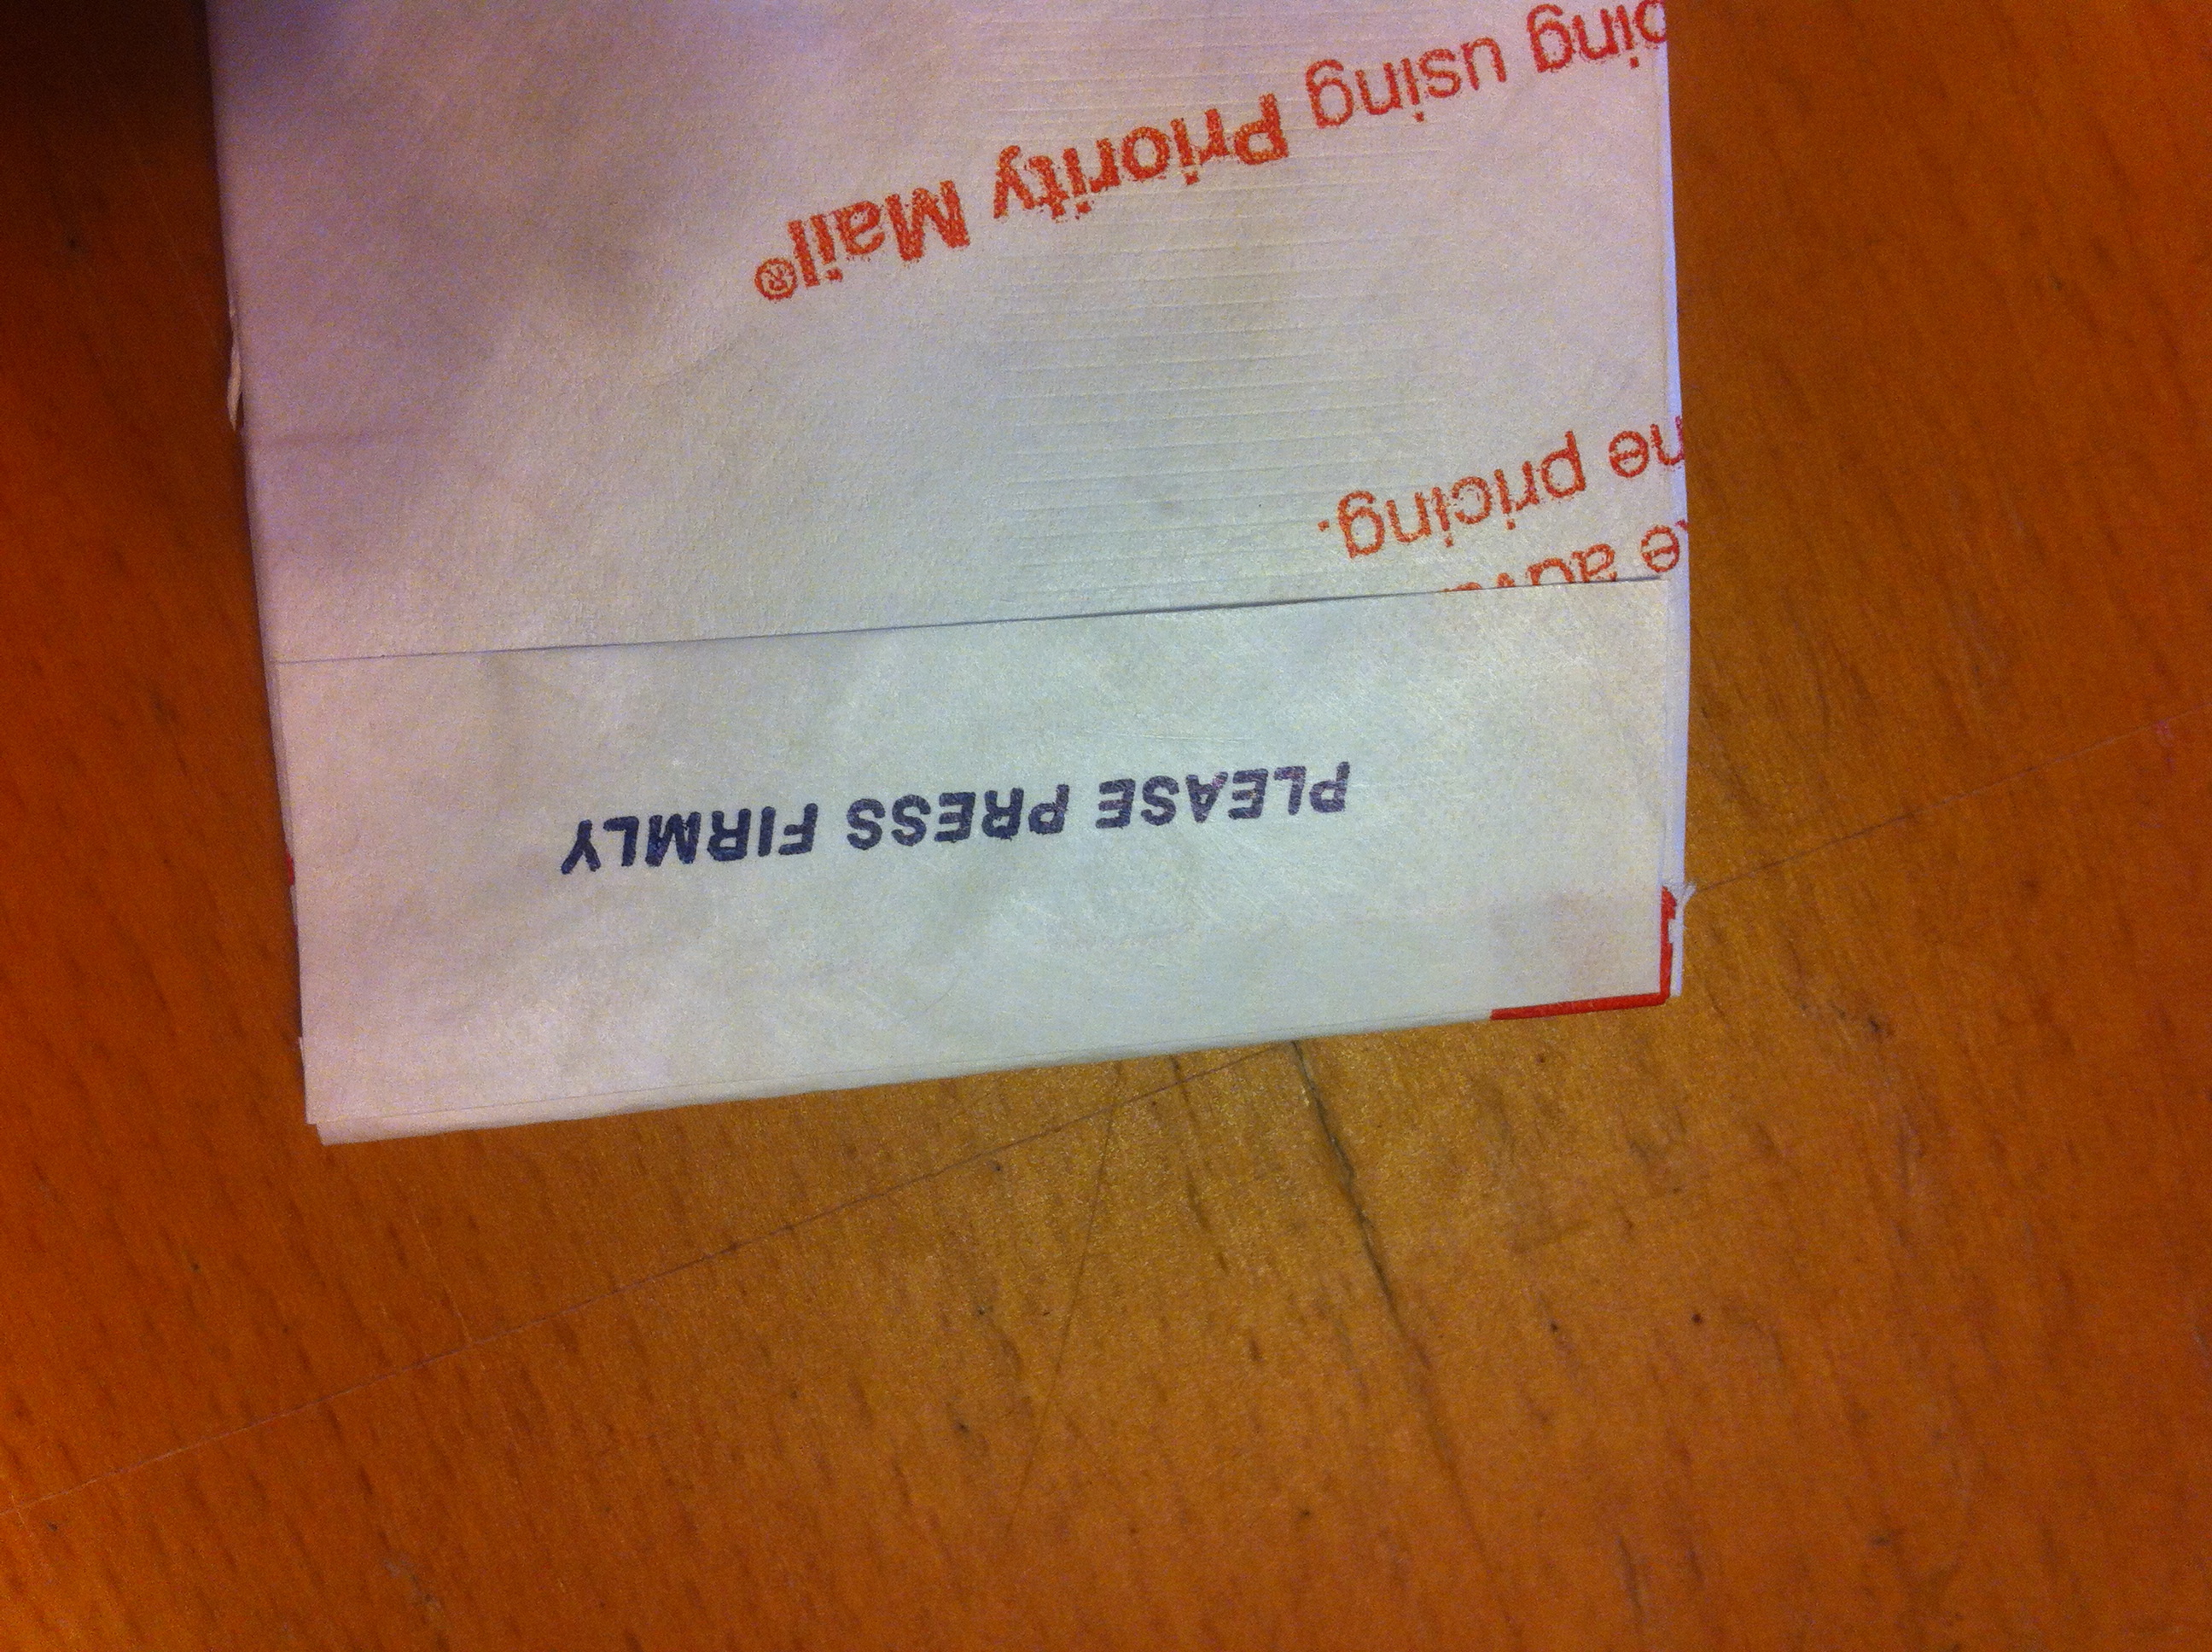
One final touch I decided to add to the wallet was to finish the edges with some reinforcing layers, cut from the adhesive-backed flap of the envelope. I cut appropriately sized sections, and applied them to each end and the bottom of the wallet:
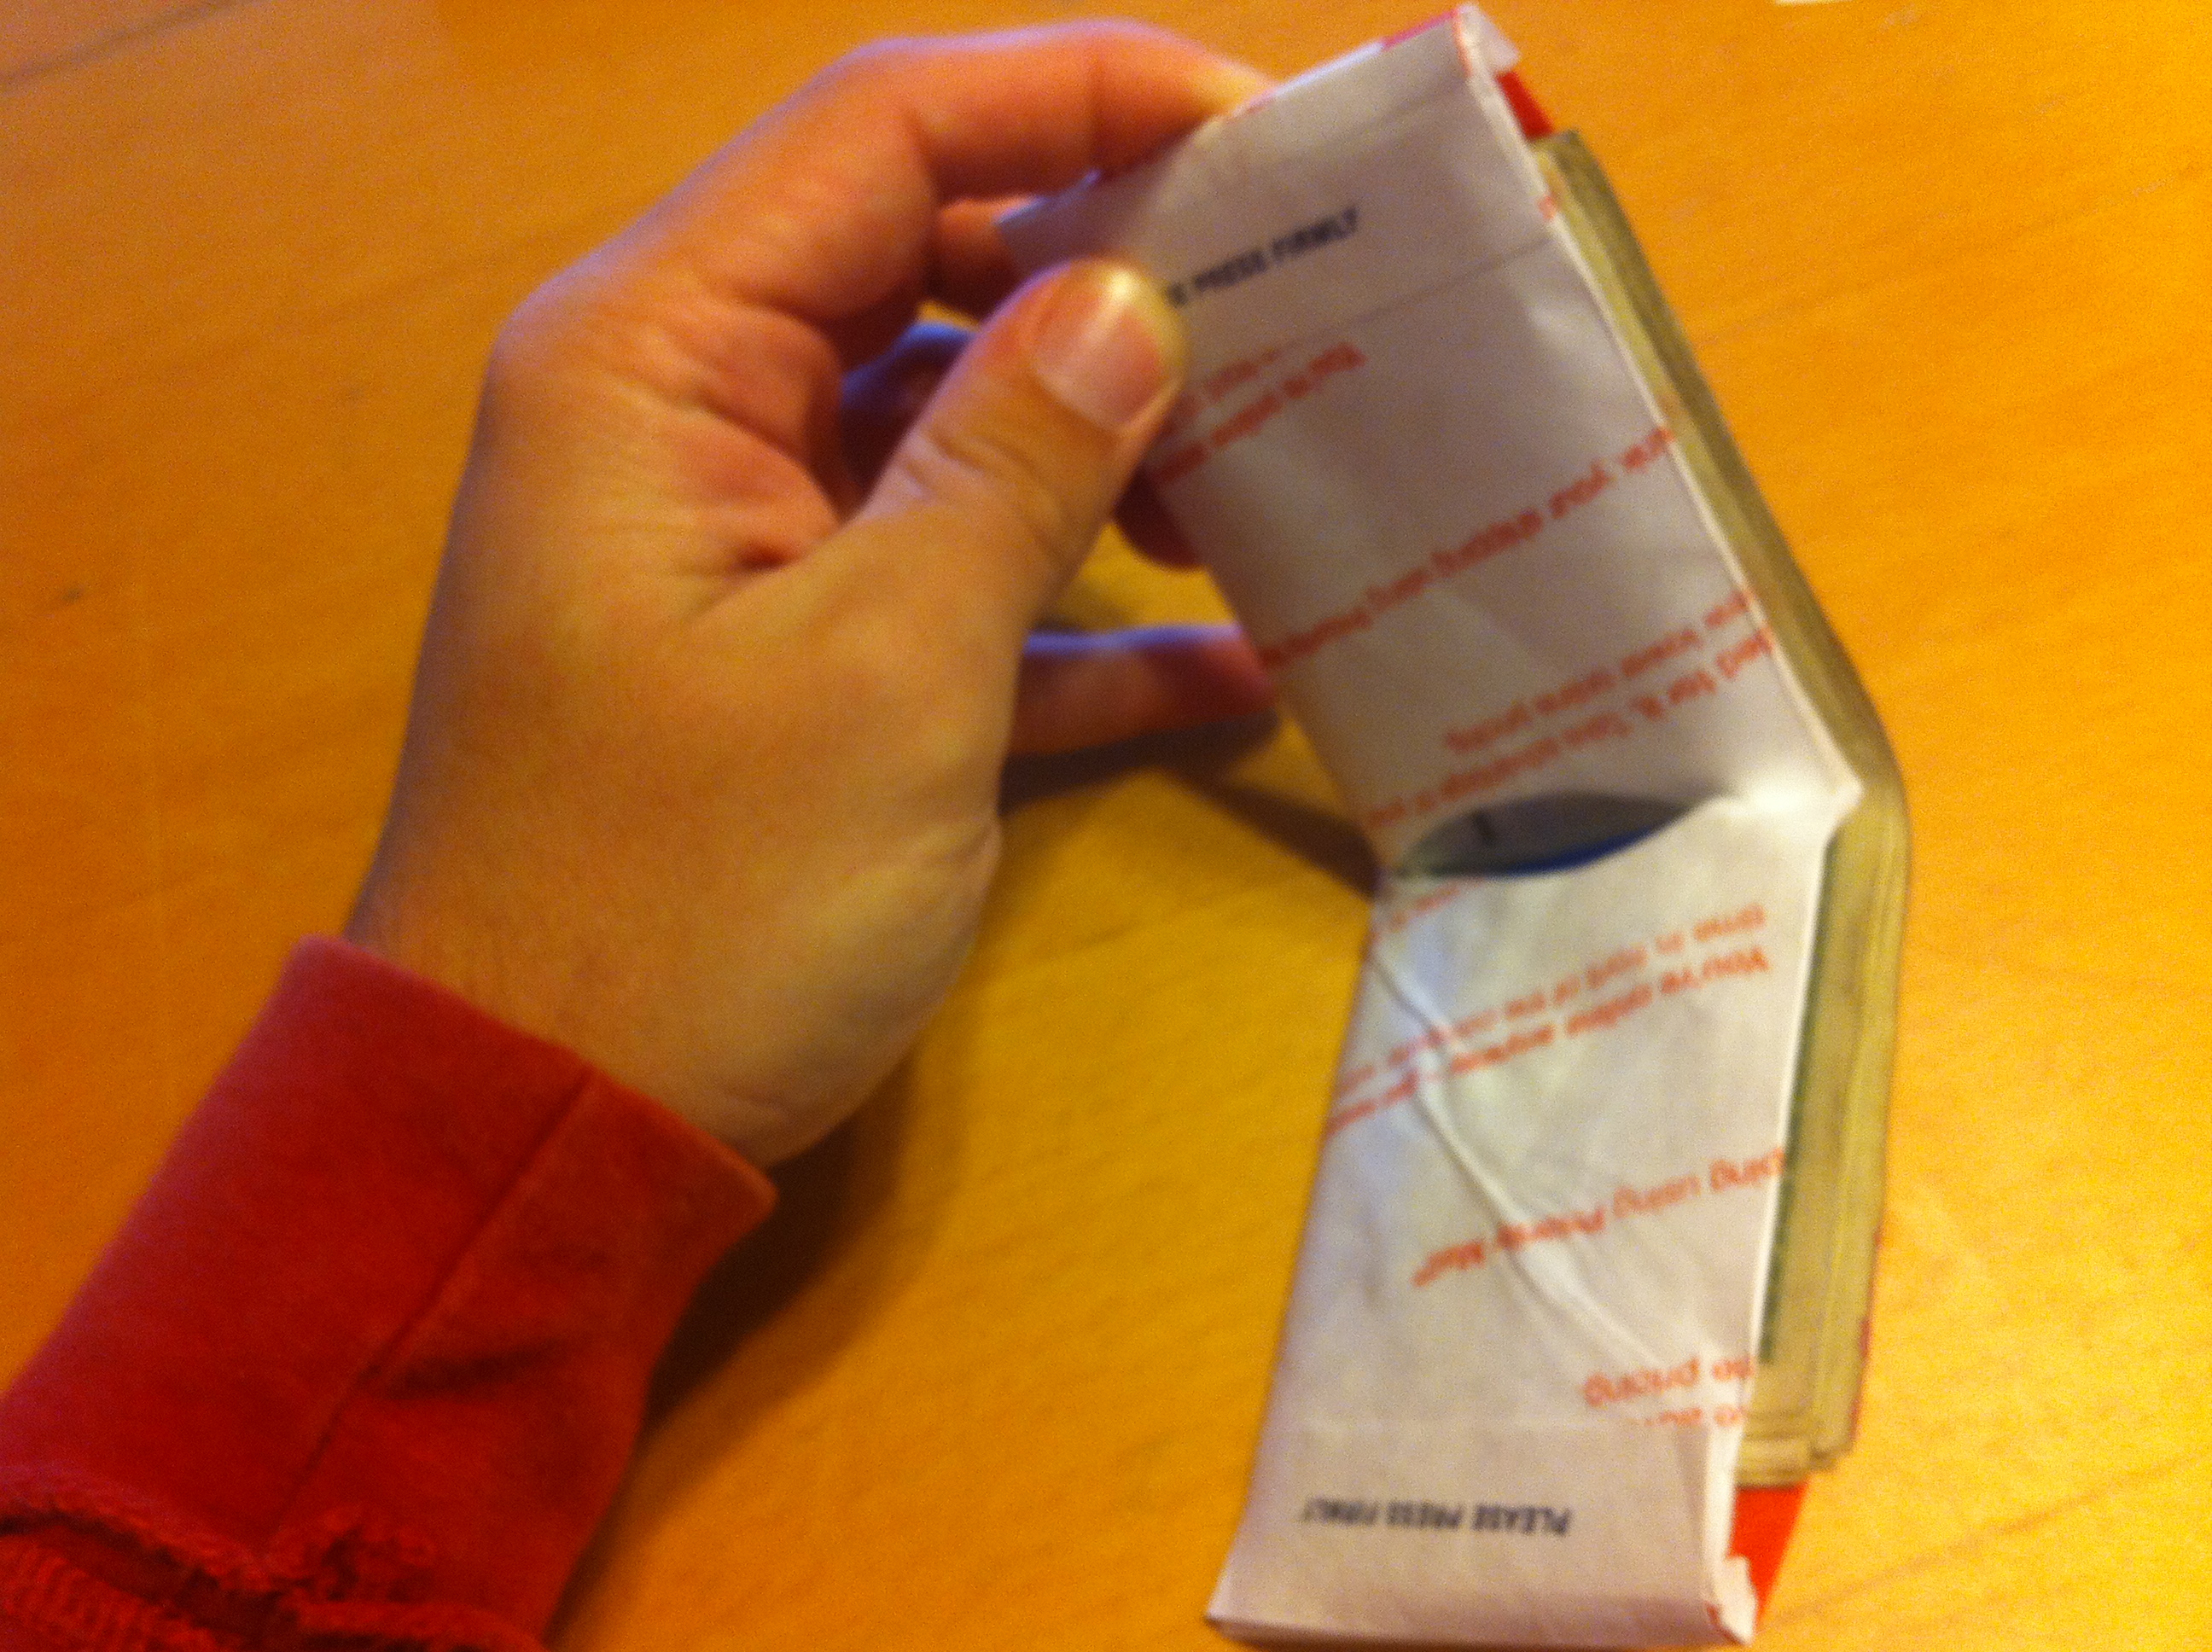
With that, the wallet was finished! I loaded it up and gave it a test run (I'm not normally that rich, but I borrowed some money for the sake of demonstration):
I've been using the wallet for about two months now, and it's holding up really well... way better than the previous one I made out of normal paper. Some of the exterior colored bits are starting to wear through, but I think I should get another solid three or so months out of the wallet before making another one. Not bad for a DIY wallet that cost nothing to make!
I've received a ton of compliments on the wallet, with people asking me where I bought it. If I wasn't sure the USPS would sue me, I'd consider selling them on Etsy or something for a hefty markup, but that seems like a risky proposiiton. Anyway, perhaps this will become a trendy way to repurpose all those Priority Mail envelopes after the USPS goes under.

Leave a comment